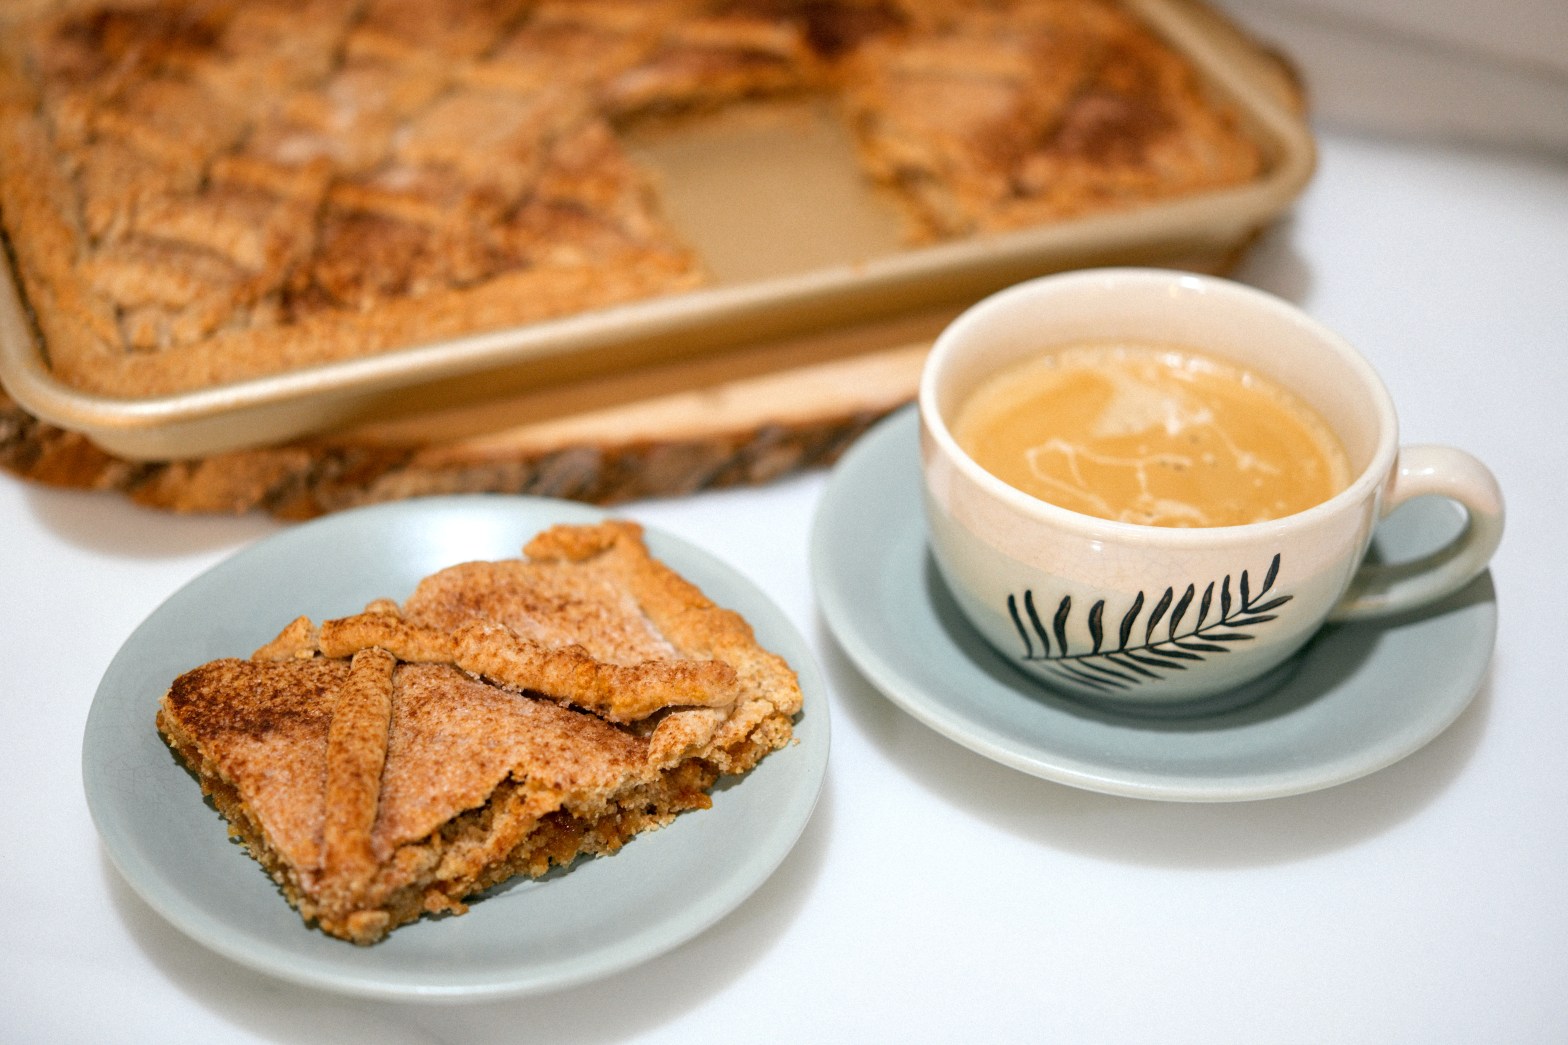
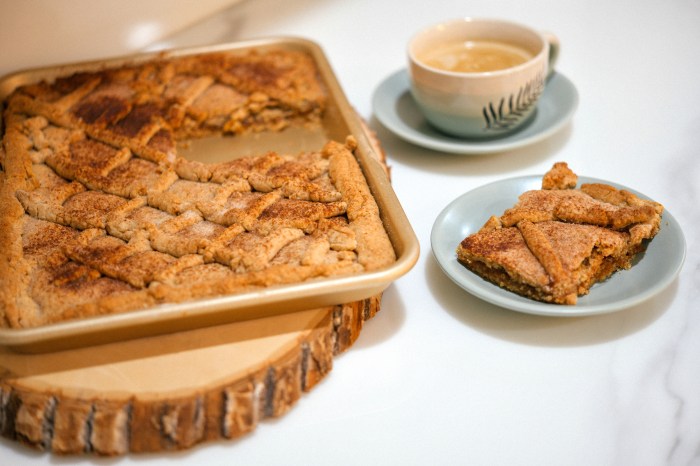
Out of all types of pan dulce that exist in the Salvadorian repertoire of pastries, this is by far one of my favorites. There are essentially two types of semitas that are popular in El Salvador: semita pacha and semita alta. Flat semita and tall semita. I prefer the flat semita since it’s less bready and dense. It is more like a sandwich of pie crusts with a sweet filling in the middle. When I eat a piece of pie I am all about the crust. I could honestly care much less about the filling. Just give me crust. That is why I love this semita so much. It has a crumbly crusty texture with just the right amount of filling in the middle. It is basically a rustic type of yeast pie crust.
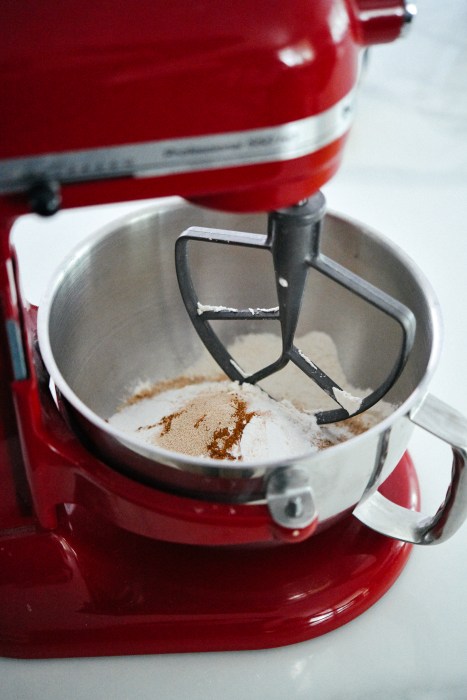
Traditionalists will say you have to mix the ingredients and knead the dough completely by hand. The method involves starting with a well of flour on a clean surface and then incorporating the wet ingredients into the flour until you form a dough. While this method seems to be what you’ll find the most on YouTube videos, I learned that mixing the ingredients using a stand mixer works just fine and the results were better than I expected.


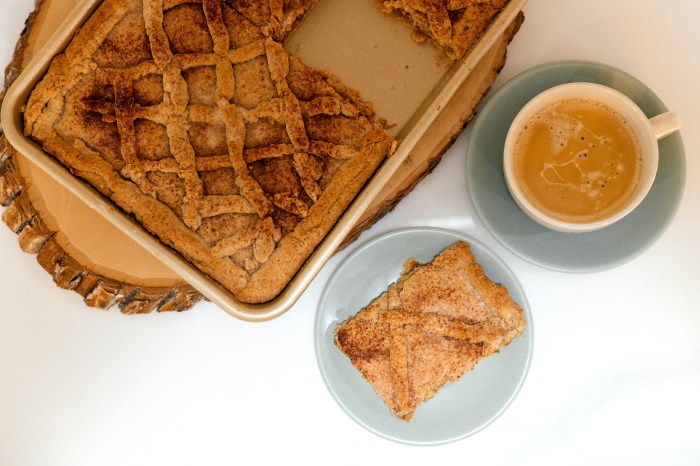
So where does the word semita come from? I am a true history geek at heart. I love to research the meaning and origins of things. So what I discovered is that semita could have its origins in Sephardic Jewish baking with an old Spanish etymology relating to the word bran or coarse flour. It all makes sense to me. Wheat was introduced to the New World by the Spaniards, many of whom were of Jewish descent. So fast forward to today, cafecito and pan dulce in the afternoons has become the Salvadorian tea time. It is the art of slowing down and enjoying the moment.
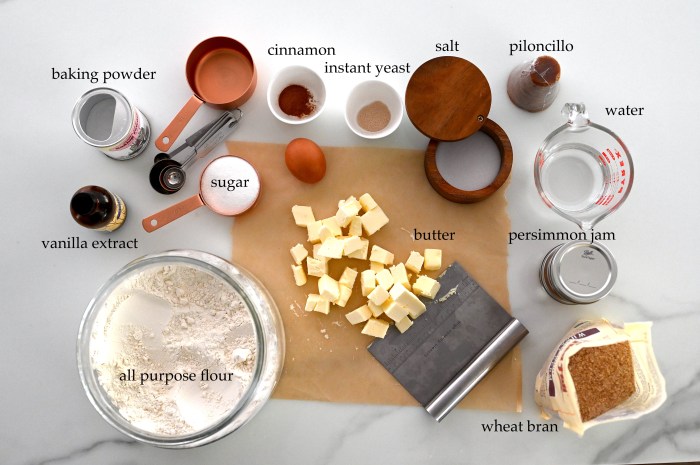
Ingredients
Crust:
- 2 cups all purpose flour
- 2 cups wheat bran (or wheat germ)
- 1 tsp baking powder
- 1/2 tsp instant yeast
- 1/2 cup granulated sugar
- pinch of salt (about 1/8 teaspoon)
- 1 tsp cinnamon
- 1 cup cold butter, cubed
- 1 egg
- 1 tsp vanilla
- 4-10 tablespoons cold water
Filling:
- 4 oz fruit jam
- 5-7 oz piloncillo also known as panela or atado de dulce (unrefined whole cane sugar)
Tips: For this recipe I used our homemade persimmon jam and it turned out really good. I suggest using jams that are kind of pulpy, definitely not jelly like. Pineapple and guava jams are more traditional for semita, but you can experiment with other flavors. I am thinking apple or pumpkin butter for fall.
Preparation
- Preheat the oven for 3500 F.
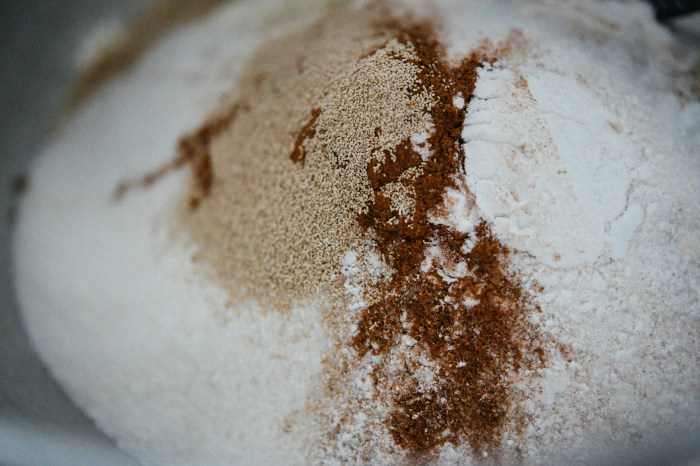
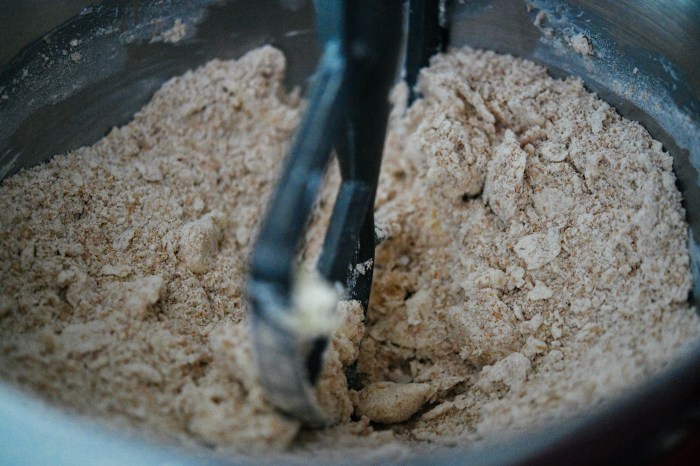
- Combine flour, bran, baking powder, yeast, sugar, salt, and cinnamon in the bowl of a stand mixer fitted with the paddle attachment. Mix on lowest speed to avoid a flour explosion.
- Add the butter a few cubes at a time and mix until the flour looks like coarse, lumpy sand.
- Next, add the egg and vanilla and mix until incorporated. Slowly add cold water, starting with about 4 tablespoons (the dough shouldn’t be wet). When the dough starts to come together it is a good sign that it is moist enough. You should be able to roll a ball in your hand. It is okay to see small bits and streaks of butter in the dough.
- Squeeze the dough into a ball and allow it to sit in the mixer bowl until ready to use.
- Next, grate the piloncillo with a box grater. Butter a quarter size 9x 13 baking sheet or baking dish.
- Sprinkle a clean work surface with flour and knead the dough until it is pliable enough to roll out. Sprinkle with flour as much as necessary.
- Reserve a little bit of dough to roll out “snakes” to decorate the semita with a lattice. It doesn’t have to be as elaborate as a traditional lattice for a pie.
- Divide the rest of the dough in 2 equal mounds. Roll out the first mound of dough on parchment paper until it is about 1/8 inch thick.
- Carefully lift the parchment paper and flip the dough unto the buttered baking sheet. Slowly peel off the paper and press the dough down with your fingers to line all the corners and sides of the baking sheet. Trim off excess dough from the ends and use it to mend holes or short corners.
- Spread the jam evenly over the dough and sprinkle the piloncillo all over the jam.
- Roll out the second mound of dough on parchment paper and gently flip it over the jam and piloncillo filling. Stretch the dough to cover all the corners and press all the edges to seal.
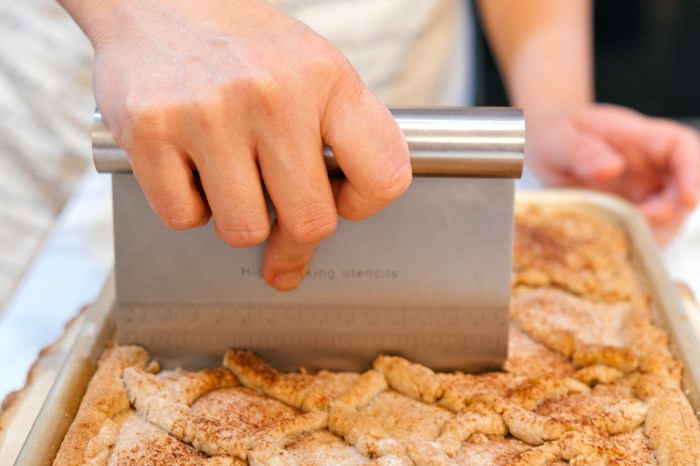
- Roll out some dough “snakes” to form a lattice on top. This is a great activity for kids. It’s like rolling out play-dough with your fingers.
- Bake for 30-35 minutes until it’s deep golden brown. Let the semita cool completely before serving. It’s actually better the next day.


Looks very yummy, I will try the recipe very soon…
LikeLike
Enjoy!
LikeLike